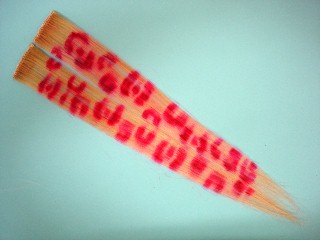
Tutorial: How to Make Leopard Print Extensions
How to Make Leopard Print Extensions
The below tutorial explains how to make temporary, clip-in leopard print
extensions. We do not recommend using this tutorial on real hair
because of the need to tape the hair down to a flat surface to be able
to draw on it.
You can use this tutorial to make other patterns as well, like zebra
print or polka dots. Abstract patterns work better than definite
shapes. I've tried making heart and star print extensions and the
results were less than impressive.
What You will Need
- Three inches of wefted human hair
- Two weave clips
- A needle and thread
- Tape
- A piece of cardboard
- Hair dye
- A Q-Tip or small tint brush
- A marker and a piece of paper
Instructions
1. Cut your 3 inch piece of hair in half. Each half will be a single
streak. For thicker streaks, use 6 inches instead and use two layers of
hair instead of one.
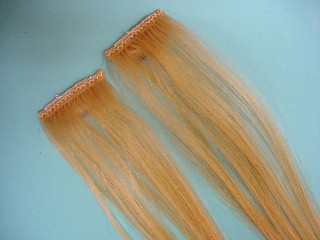
2. Sew the sections of hair onto your weave clips. If the clip has
holes in it, sew through each hole. If your clips don't have holes
across the top, you can sew through the teeth in the comb.
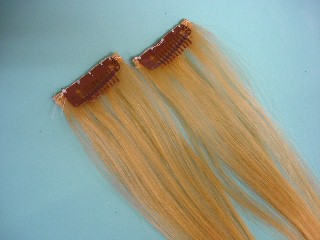
3. Straighten the hair. This step may be optional if the hair you're
using is completely straight already, but most wefted hair will be a
little bunched up at the top from the packaging so it is a good idea to
straighten it before you dye it.
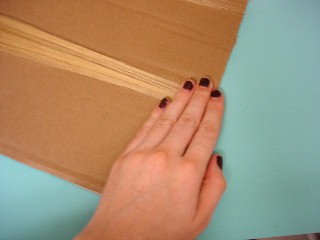
4. Tape the top of your streaks onto the cardboard. Hold the hair out straight and tight, then tape the bottom down as well.
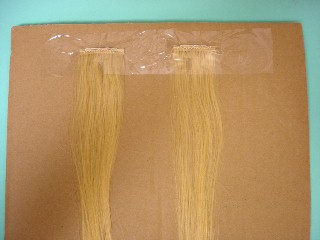
Make sure to hold the hair out straight when you tape the bottom!
5. Practice drawing your leopard print on a piece of paper. Try not
to overthink it; if the spots look too orderly, it's not going to look
like leopard print. Alternate between messy "C" shapes, "O" shapes, and
dots. Keep practicing until you are satisfied with the pattern.
Drawing leopard print freehand can be hard at first, and getting the
pattern to look right takes practices. Better to use up some paper than
waste your wefts and hair dye!
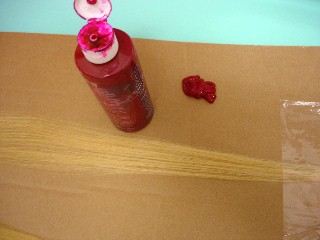
6. If you've got a full bottle of dye or dye that comes in a pot (Like
Manic Panic), you can dip your Q-Tip directly into the dye. If you're
using a bottle that you can't easily dip into, squirt some dye onto the
cardboard you're using to make the streaks.
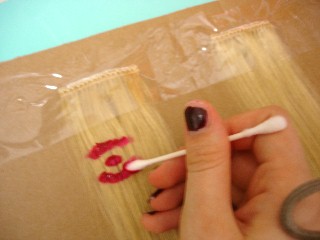
7. Dip a Q-Tip into your hair dye and begin drawing your leopard
print on the hair. Hold the hair around the area down with your other
hand to keep it from moving. You will also need to dab the dye on
rather than draw with long strokes, again to keep the hair from moving.
If the hair moves around too much, then the print won't look the same
when you're done.
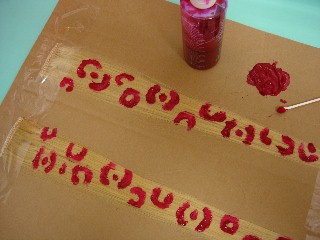
8. Now that you've got your pattern all done, leave the streaks alone
for a while. I recommend leaving them overnight before rinsing; if you
just go by the directions on the packaging, there will still be wet dye
on your spots and it may stain the rest of the hair when you're rinsing
it out.
9. Rinse the dye out.
10. Once the hair is dry, straighten the streaks and then you're done!
